Our reader, Leonid Zakharov, who suffered the untimely loss in connection with the death of beloved screen PDA, shared c us instructions indiscriminately shell cvoego HP iPAQ h4150. The story accompanying the photos, hopefully, let everyone make the same operation. From myself say that repeating this experiment at home, we would recommend only to those who have seen electronic devices "inside out" and has the appropriate skills. Incidentally, no self-confidence, we advise all the same to apply to the service centers. Editorial HPCru not responsible for the failed experiment of self-change matrix.
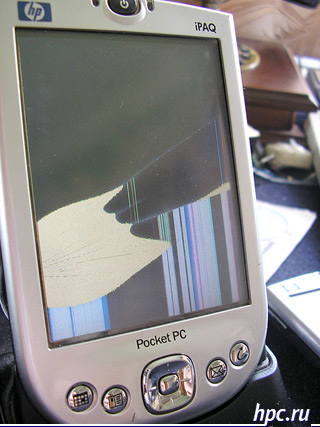 |
| HP iPAQ h4150: the doctor said the autopsy! .. |
Recall that for our section diy, in which published and this article shall be taken not only stories about the original decisions on the basis of the CCP, but also practical advice on repairs, maintenance and other everyday realities - all of this, preferably with photos. E-mail as usual on editor@hpc.ru. And now - to the point. In order to separate the body, it is necessary to turn out five screws, one of which is under the warranty sticker. The screws can be turned out Torx T-6, which you can buy a set for the repair of cellular or separately.
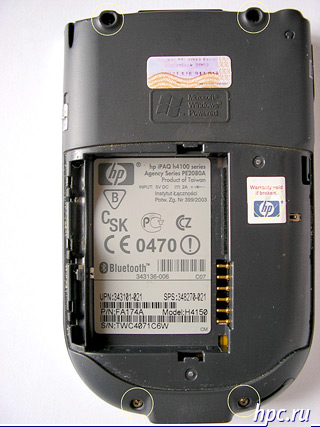 |
| The first step: turns the screws ... |
The design consists of the average load-bearing part on which the fixed fee, the vast majority of cells and the anterior-posterior part of the body. Divide must, above all, the rear part of the dark. She - on plastic latches, which opens with some force. It is advisable to use non-metallic flat screwdriver or plastic corner tight credit cards, so as not to scratch the corners of the body.
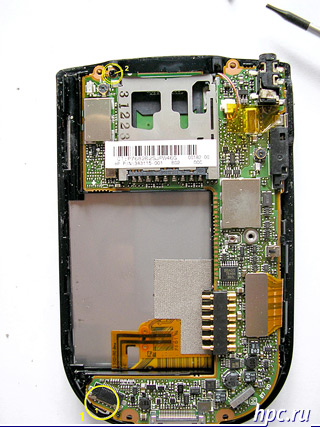 |
| Step Two: Our guinea without the back cover, break trail hard buttons |
In the lower left corner of the board is a socket train hard buttons (number 1 in the photo without the lid). We must carefully move down brown stop the train, and it is easy to come out. In the upper left-hand top side is located the screw holding the front of the building (number 2 in the photo without the lid).
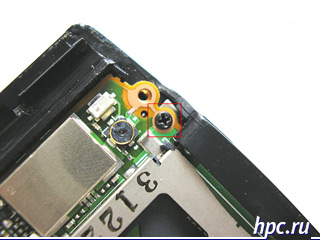 |
| Step Three: turns the screw holding the front of the |
After reversing the screw and the flash will be possible to separate the case. Housing should be deployed "butterfly", since it will keep the bottom of the backup battery connector.
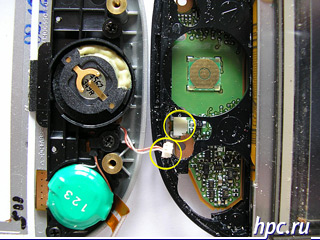 |
| Step Four: Deploy Corps "butterfly" |
You can remove it by gently uperevshis a protrusion on the connector, flat blade screwdriver and pushing it toward the bottom of the board. Housing opened, we must now take the train of the matrix, it comes fairly easily.
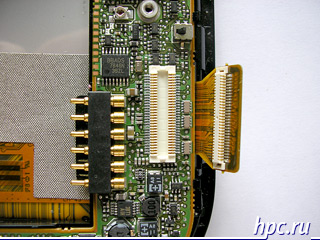 |
| Step five: take out the loop matrix |
Then you can remove the matrix.
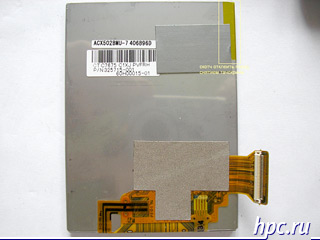 |
| Step six: take out the matrix |
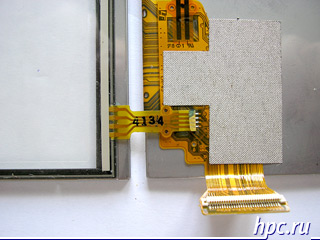
If you started a whole process to replace the touch screen, and you have the whole matrix, we must pay attention to the yellow tape that attracts the touchscreen to the matrix in the upper right corner and the four-loop, which is soldered to the circuit of the matrix. It needs to be carefully pull the free edge. With some effort it is separated, leaving intact the contact pads on the tail of the matrix. I separated the touchscreen, poddevaya his iron perimeter of the needle from the syringe, after disconnecting the cable and peel the yellow tape.
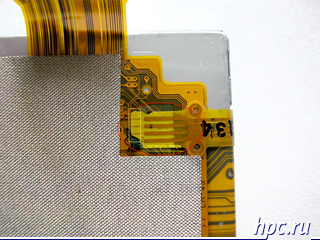 |
| Step Seven: pull up the trail touchscreen |
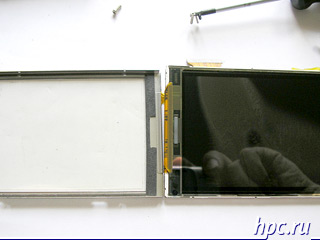 |
| Step Eight: removed the touch screen |
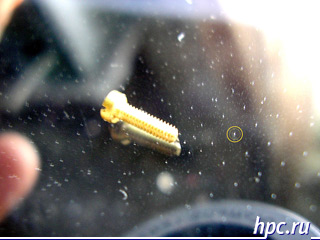 |
| Censornye point touchscreen |
Reverse the installation process I would recommend to do the following: prepare a solder and whittle away its sting at a comfortable angle to a flat plane. Get ftorplastovuyu thin tape, which need not to damage the polymer material plume soldering iron. Impose new touchscreen cable to contact pads perfectly aligned with the contacts on the tail of the matrix, fix it a couple of drops of superglue to not move. Desirable to apply a little glue and away from contact.Then cover all of a piece of tape ftorplastovoy and warm the place of the soldering iron, without much pressure.
Now general recommendations: - Not'll advise totally all earthed although desirable. Must wash hands to remove excess static.
- Flat cables are afraid hall. Disassemble desirable on pure worksheet, rigid rubber her not slip elements when annex efforts.
- The entire assembly must be in the reverse order, remembering to plug in and fix the cables and connectors, which, actually, quite a bit.
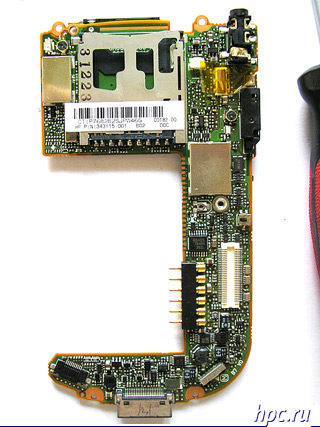
For curious cite photos board itself device both sides. Them clearly visible processor memory from Samsung, WLAN, other hand Bluetooth module other elements CCP.
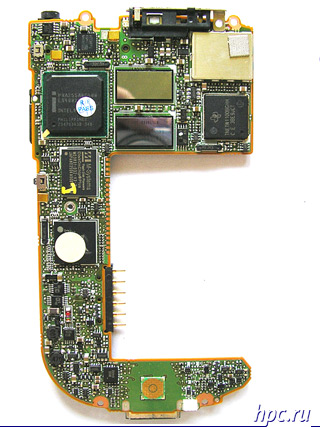 |
| Plata HP iPAQ h4150 |
The authors, translation:


